NGWAF – First Iteration Of ML Based Feedback WAF
This can be achieved in the following steps:
-
Create a new dataset (.csv) for upload in the following format (empty column, training data, label). You can refer to
patch_sqli.csvas an example. -
Navigate to
http://localhost:8088to view NGWAF admin panel. -
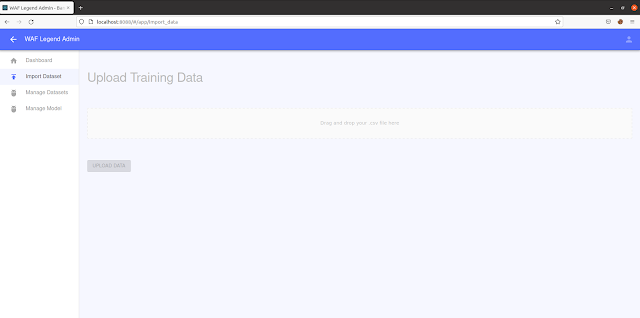
Select the “Import Dataset” tab and upload the training set you have created
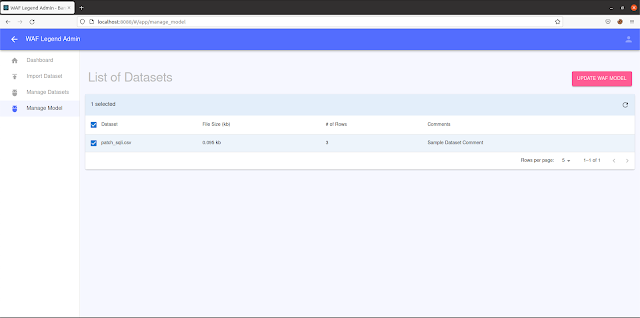
- Confirm that the training set have been uploaded successfully under the “Manage Datasets” tab.
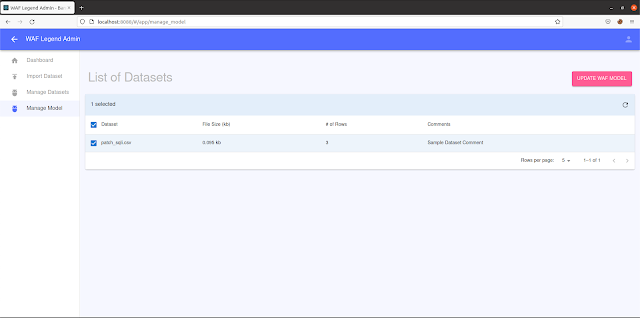
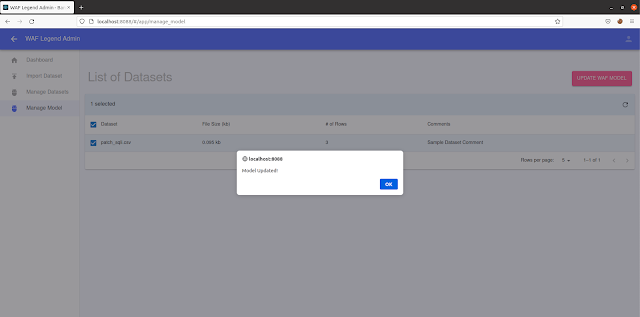
- Under “Manage Model” tab, select the dataset(s) you want to retrain the model on and click on the “UPDATE WAF MODEL” button.
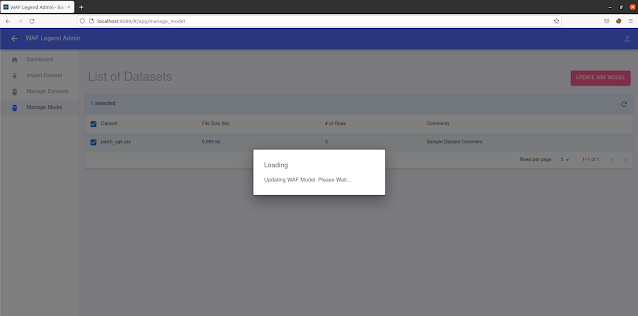
- Congrats! The model should finish re-training after some time.
4. Additional Features:
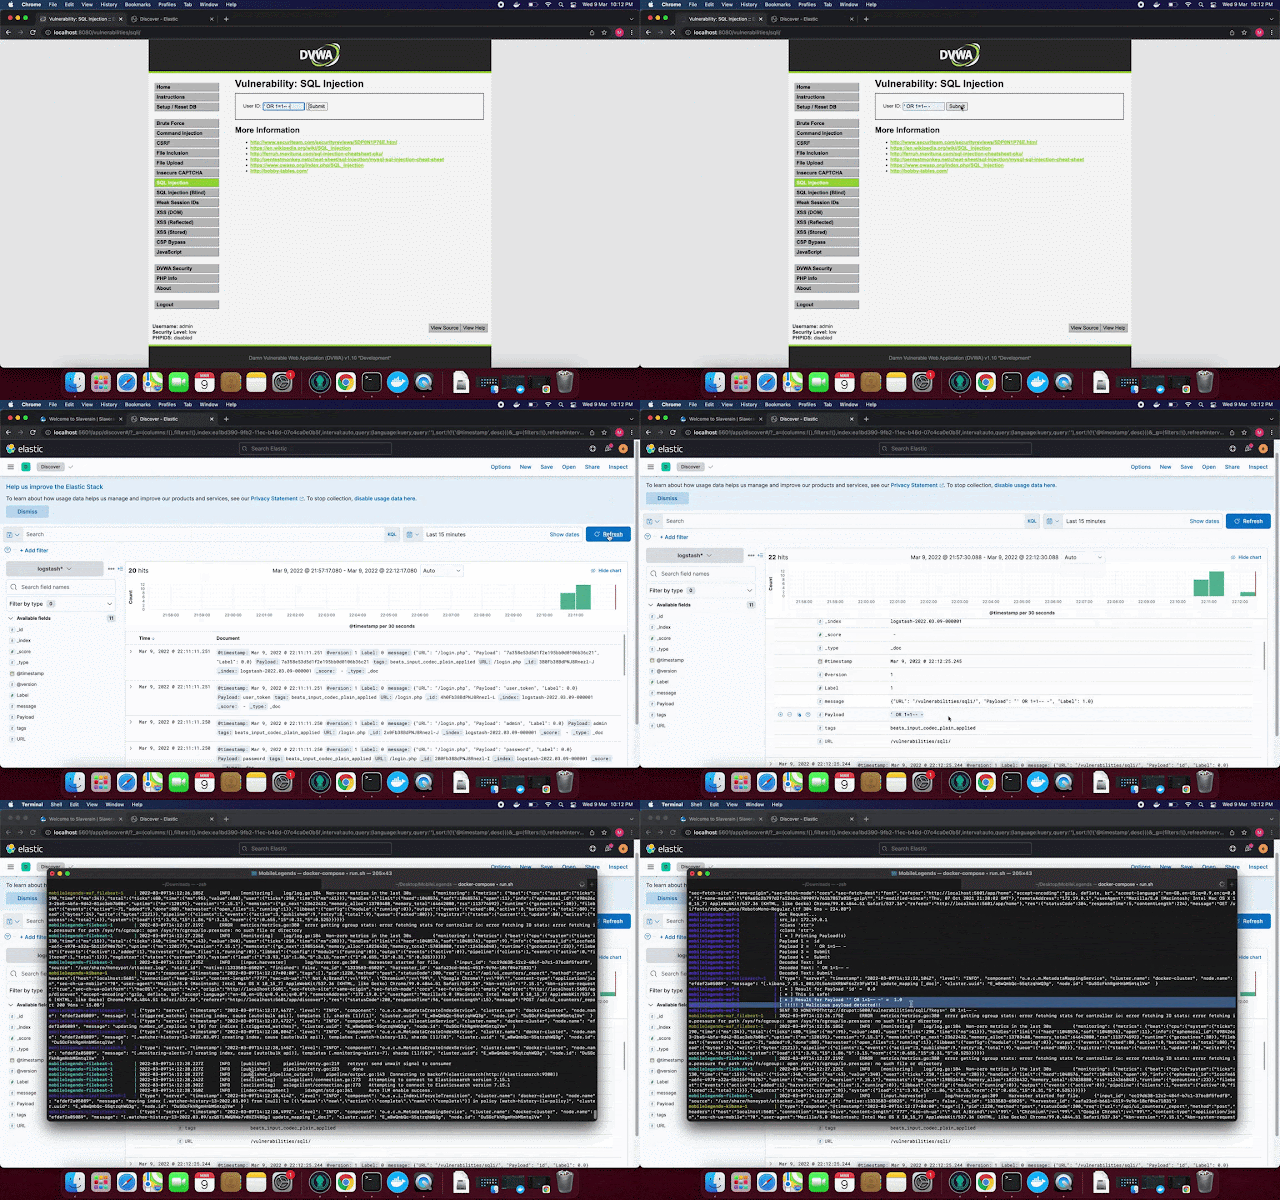
NGWAF uses ELK stack to capture logs of network data that passes through NGWAF, allowing users to monitor the traffic that passes through the NGWAF for further analysis.
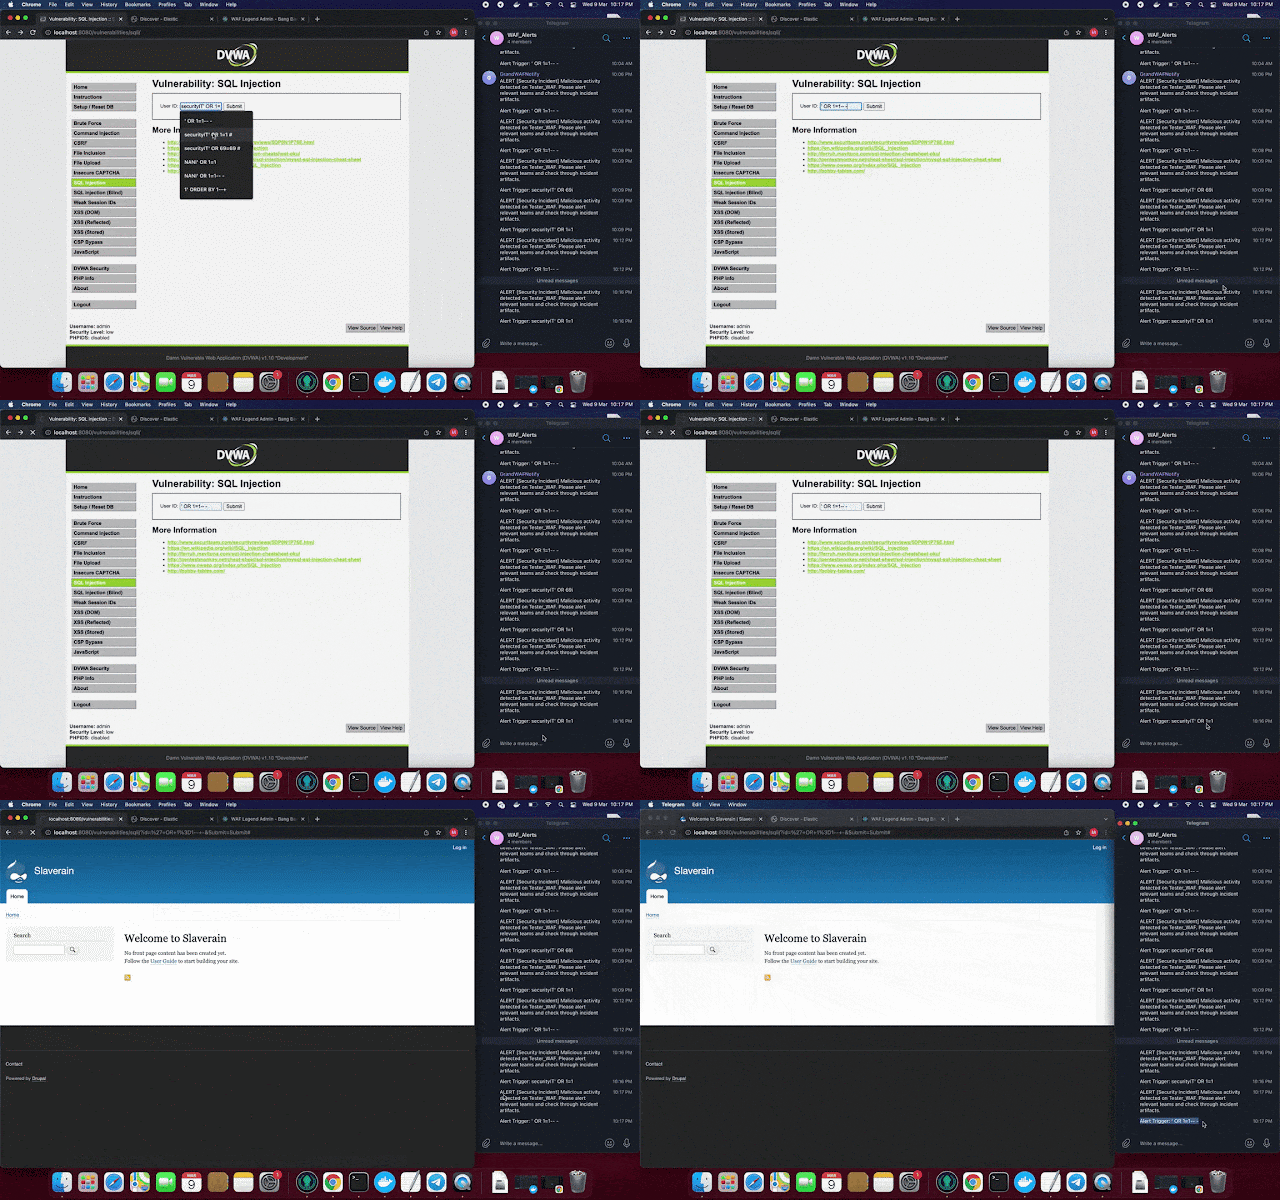
NGWAF also comes with live Telegram notification, to inform owners about live malicious threats that is detected by NGWAF.
Sample Usage Scenarios
- Newly normal application (Use the inbuilt web cloner / create another duplicate deployment to use as isolation environment)
- Integrate into existing honeypot/honeynet (Update the configuration to point to honeypot/honeynet)
Setting up NGWAF | Requirements, installation, and usage
Requirements
Tested Operating Systems
- macOS (Docker Desktop)
- linux
WAF Component
- Python
- request
- fastapi
- pandas
- scikit-learn
- tensorflow (tentative)
- nltk
WAF Admin Panel Component
- fastapi
- scikit-learn
- nltk
- pandas
- Create React App
- React Material Admin Template by Flatlogic
Decode Layer
- Cyberchef Server
Caching Layer
- Redis
Quarantine Environment
- Drupot
- Elastic Search Stack Components (Elasticsearch, Logstash, Kibana, Filebeats)
Web App
- DVWA
- OWASP
Installation and Usage
With Docker running, run the following file using the command below:
./run.sh
To replace the targets, point the dest_server and honey_pot_server variable to the correct targets in the /waf/WafApp/waf.py file
# Replace me
dest_server = "dvwa"
honey_pot_server = "drupot:5000"
Once the Docker container is up, you can visit your localhost, in which these ports are running these services:
| Port | Service | Remarks | Credentials (If applicable) |
|---|---|---|---|
| 8080 | DVWA | Where the WAF resides | admin:password |
| 5601 | Elasticsearch | To view logs | elastic:changeme |
| 8088 | Admin Dashboard | Dashboard to manage the WAF model | |
| 5001 | Drupot | Honeypot |
To allow for Telegram live notifications, do replace the following variables in /waf/WafApp/waf.py with a valid TELEGRAM tokens.
token='<INSERT VALID TELEGRAM BOT TOKEN>'
CHAT_ID = '<INSERT VALID CHAT_ID>'
WAF_NAME = 'Tester_WAF'
WARN_MSG = "ALERT [Security Incident] Malicious activity detected on " +WAF_NAME+ ". Please alert relevant teams and check through incident artifacts."
URL= "https://api.telegram.org/bot{}/sendMessage?chat_id={}&text={}".format(token,CHAT_ID,WARN_MSG)
Disclaimers & Other Considerations
NGWAF is a W.I.P, Open source project, functions and features may change from patch to patch. If you are interested to contribute, please feel free to create an issue or pull request!
Licensing
License
GNU General Public License
If you like the site, please consider joining the telegram channel or supporting us on Patreon using the button below.


![[SINOBI] - Ransomware Victim: McDonald Building 9 image](https://www.redpacketsecurity.com/wp-content/uploads/2024/09/image-300x300.png)


