SniperPhish – The Web-Email Spear Phishing Toolkit
SniperPhish is a phishing toolkit for pentester or security professionals to enhance user awareness by simulating real-world phishing attacks. SniperPhish helps to combine both phishing emails and phishing websites you created to centrally track user actions. The tool is designed in a view of performing professional phishing exercise and would be reminded to take prior permission from the targeted organization to avoid legal implications.
Installation
- Download the source code and put it in your web root folder
- Open http://localhost/install in your browser and follow the steps for installation
- After installation, open http://localhost/spear to login
Default login – Username:
adminPassword:sniperphish
Main Features
- Web tracker code generation – track your website visits and form submissions independently
- Create and schedule Phishing mail campaigns
- Combine your phishing site with email campaign for centrally tracking
- An independent “Simple Tracker” module for quick tracking an email or web page visit
- Advance report generation – generate reports based on the tracking data you needed
- Custom tracker images and dynamic QR codes in messages
- Track phishing message replies
Screenshots
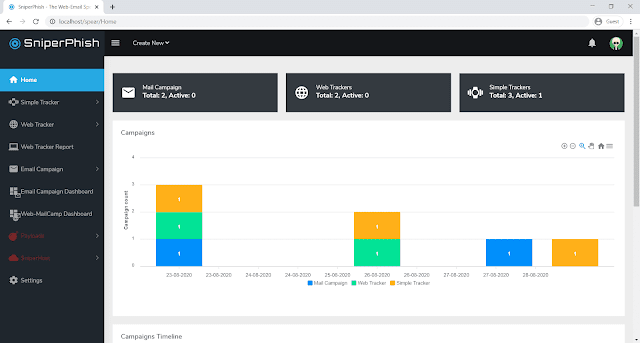
Creating Web-Email Campaign
We create web tracker -> Add the web tracker to the phishing website -> create mail campaign with a link pointing to the phishing website -> start mail campaign.
Creating a web tracker:
- Design your website in your favorite programming language. Make sure you provided unique “id” and “name” value for HTML fields such as text field, checkbox etc.
- Generate web-tracker code
Web Tracker -> New Tracker. The “Web Pages” tab list the pages you want to track- To track form submission data, provide the “id” or “name” values of HTML fields present in your phishing site form.
- Repeat above for each page in your phishing site.
- From the final output, copy the generated JavaScript link and add it under the section of each website page.
- Finally, save the tracker created. Now the tracker is activated and listening in the background. Opening your phishing site or data submission is tracked.
Creating an Email campaign:
- Go to
Email Campaign -> User Groupand add target users - Go to
Email Campaign -> Sender Listand configure Mail server details - Go to
Email Campaign -> Email Templateand create mail template. When you add your phishing website link, make sure to append?cid={{CID}}at the end. This is to distinguish each users. For example,http://yourphishingsite.com/login?cid={{CID}} - Now go to
Email Campaign -> Campaign List -> New Mail Campaignand select/fill the fields to create campaign. - Start Mail campaign
Viewing combined Web-Email Result
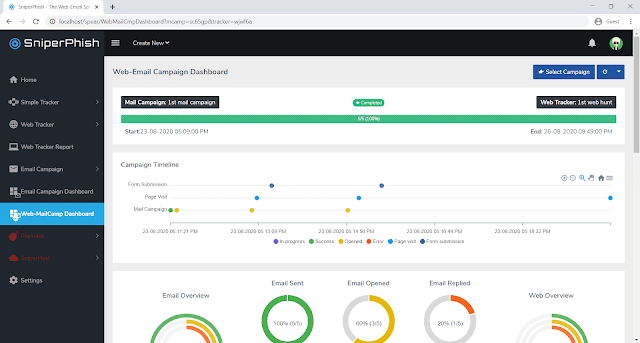
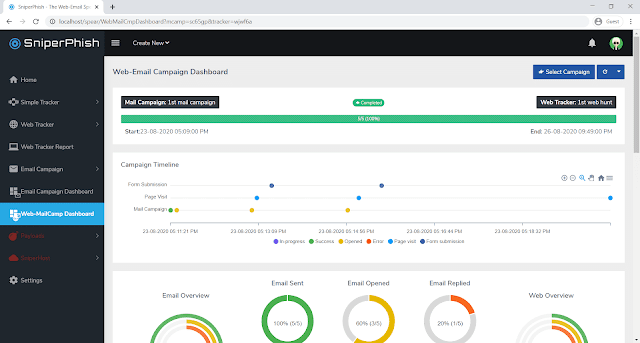
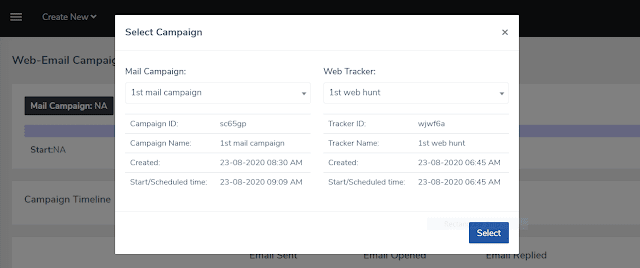
Open Web-MailCamp Dashboard -> Select Campaign and select Mail Campaign and Web Tracker you created.
More
- SniperPhish website: https://sniperphish.com/
- SniperPhish demo: https://demo.sniperphish.com/spear/
SniperPhish honors contributions of
Joseph Nygil (@j_nygil) and Sreehari Haridas (@sr33h4ri)
If you like the site, please consider joining the telegram channel or supporting us on Patreon using the button below.


![[HUNTERS] - Ransomware Victim: Mafi 6 image](https://www.redpacketsecurity.com/wp-content/uploads/2024/09/image-300x300.png)

