VPS-Docker-For-Pentest – Create A VPS On Google Cloud Platform Or Digital Ocean Easily With The Docker For Pentest
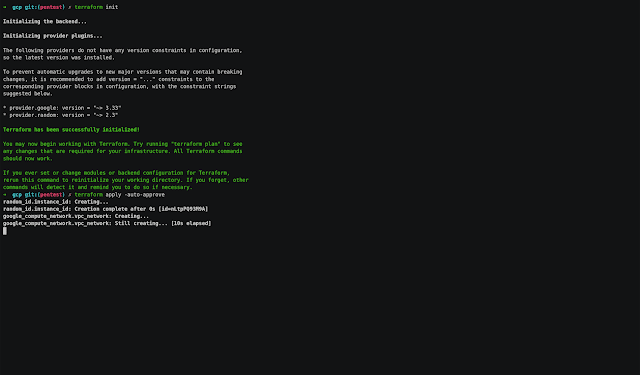
Create a VPS on Google Cloud Platform or Digital Ocean easily with the docker for pentest included to launch the assessment to the target.
Requirements
- Terraform installed
- Ansible installed
- SSH private and public keys
- Google Cloud Platform or Digital Ocean account.
Usage
1.- Clone the repository
git clone --depth 1 https://github.com/aaaguirrep/vps-docker-for-pentest.git vps
cd vps
2.- Credentials
- Create credentials folder.
mkdir credentials
For Google Cloud Platform
- Create a new project.
- Create service account with “Compute Admin” role and download a key in json format in credentials folder.
- Rename the key to pentest.json
- Enable “Compute Engine API” for the project.
For Digital Ocean
- Create a Personal access tokens with write permission and copy it. See Tutorial
SSH Private and Public keys
- Inside credentials folder run
ssh-keygen -t rsa -f pentestin the terminal. Empty passphrase is ok. - It creates two files: private and public key.
3.- Terraform
Google Cloud Platform
- Enter to gcp folder and modify the next value:
- In main.tf file change the project value with your project-id.
- Run the next commands:
# Initialize terraform provider
$ terraform init
Terraform has been successfully initialized!

# Create the resources
$ terraform apply -auto-approve
Apply complete! Resources: 3 added, 0 changed, 0 destroyed.
Outputs:
external_ip = x.x.x.x- Copy the external_ip value
Note: The instance type and the region used are: n1-standard-1 and us-central1. You can change the values on server.tf and main.tf
Demo
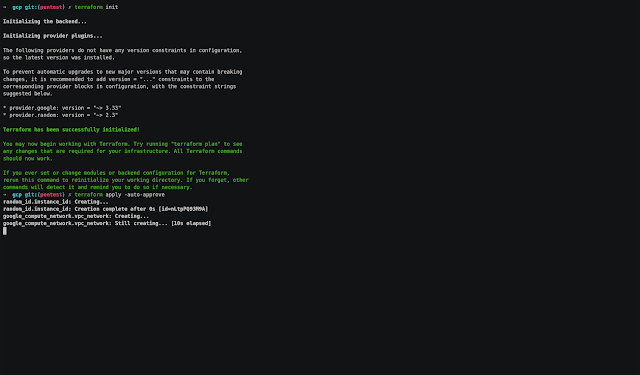
Digital Ocean
- Enter to digital-ocean folder
- With the personal access token copied run
export TF_VAR_do_token="Personal_Access_Token_Here" - Run the next commands:
# Initialize terraform provider
$ terraform init
Terraform has been successfully initialized!

# Create the resources
$ terraform apply -auto-approve
Apply complete! Resources: 3 added, 0 changed, 0 destroyed.
Outputs:
external_ip = x.x.x.x- Copy the external_ip value
Note: The droplet type and the region used are: s-2vcpu-4gb and nyc3. You can change the values on server.tf and variables.tf
Demo
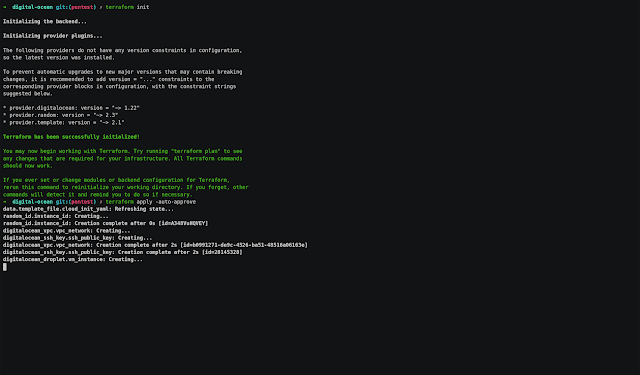
4.- Ansible
- Enter to ansible folder
- In hosts.yaml change the x.x.x.x by external_ip value copied.
- Run the next command:
$ ansible-playbook playbook.yaml
TASK [Configuration finished] *******************************************************
ok: [x.x.x.x] => {
    "msg": "System configured correctly."
}
Demo
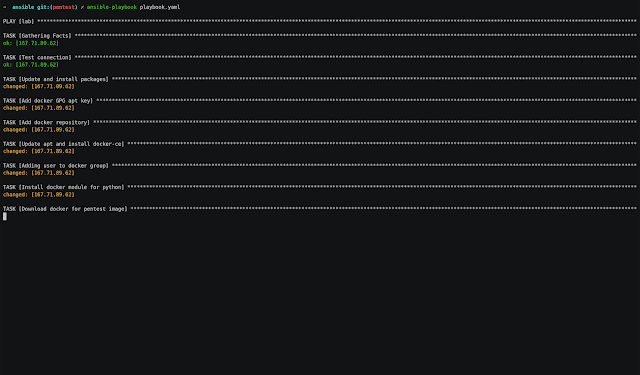
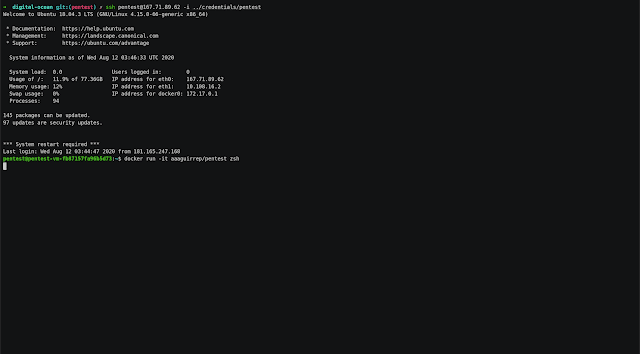
5.- Access to VPS
- In gcp or digital-ocean folder run the next command. Change x.x.x.x by external_ip value copied.
# Access to VPS
$ ssh [email protected] -i ../credentials/pentest
Demo
6.- Destroy the VPS
- In gcp or digital-ocean folder run the next command.
# Destroy the resource
$ terraform destroy -auto-approve
Note: For Digital Ocean, if you dont have a default VPC created in the region used it shows an error to destroy the VPC but no problem, it will destroy the others resources.
If you like the site, please consider joining the telegram channel or supporting us on Patreon using the button below.


![Cobalt Strike Beacon Detected - 166[.]108[.]234[.]74:8089 7 Cobalt-Strike](https://www.redpacketsecurity.com/wp-content/uploads/2021/11/Cobalt-Strike-300x201.jpg)